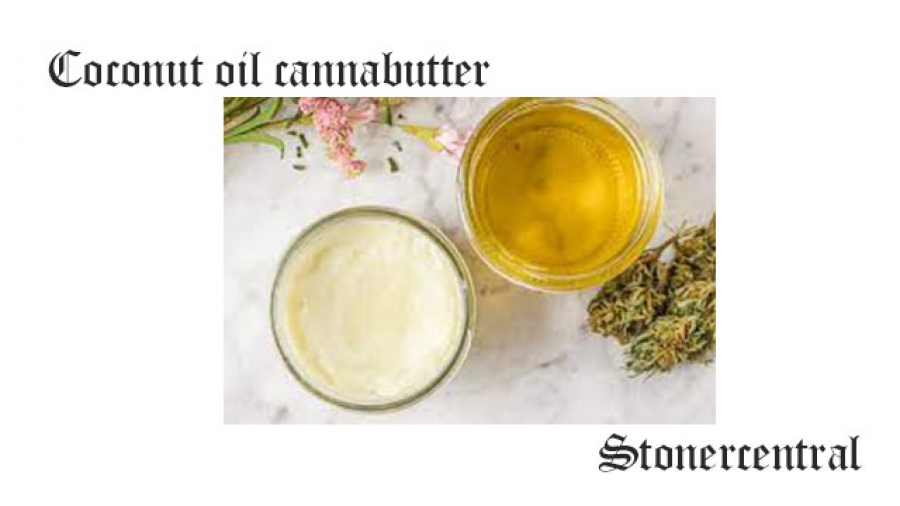
Coconut oil has managed to infuse its way into some of the cannabis industry’s most sought-after products, including edibles and topicals, but why?
Why is coconut oil popular for cannabis infusion?
Coconut oil has a high concentration of fatty acids (saturated fats). The surplus of these fatty acids in coconut oil create a strong binding agent for cannabinoids.
Compared to olive oil, which contains a saturated fat content of less than 20%, coconut oil contains over 80% saturated fats and thus has the ability to retain far more cannabinoids during infusions, making it far more efficient. Coconut oil is a near-perfect medium for cannabis-infused oils.
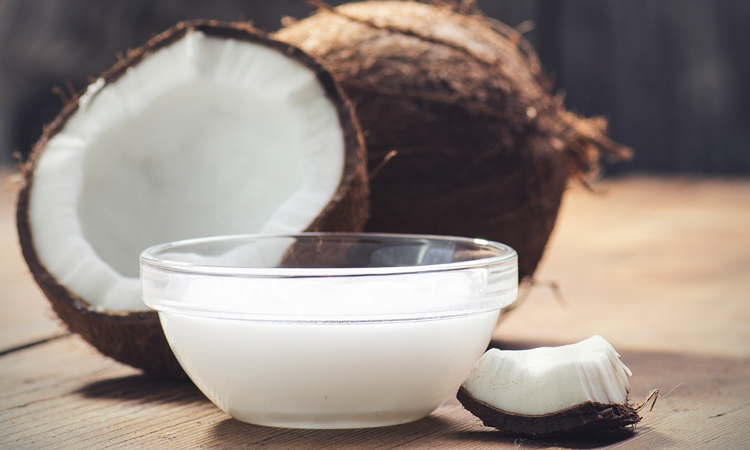
Coconut oil uses and health benefits
Coconut oil also contains other sets of beneficial acids that have been known to have a list of potential health benefits. Lauric acid is a great example—when digested, lauric acid creates a monoglyceride that acts as an antimicrobial.
These fatty acids are found in abundance in coconut oil, making it a top contender for those looking for a healthier oil base than butter or canola oil.
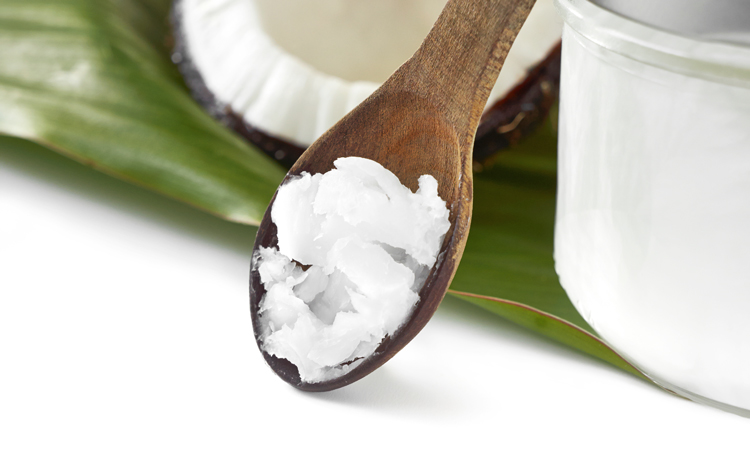
Another fantastic benefit of using coconut oil is it will remain solid at room temperature. This makes it a great medium for using as a topical agent. Furthermore, its solid state allows the oil to be easily stored via gelatin capsules, a widely popular and highly effective method of consuming cannabis.
Gelatin oil capsules are so simple and easy to make at home—the ingredients can be purchased from just about any pharmacy or online, making for a fun and simple DIY project.
Ingredients you’ll need:
- 7g (aka ¼ oz) of cannabis flower (You can also use trim! If you go this route, we suggest using a full ounce)
- 100g (aka ½ cup) of coconut oil
Supplies you’ll need:
- A scale (or, just a quarter-ounce bag of weed!)
- Scissors or an herb/cannabis grinder
- An oven-safe baking dish (We recommend using a glass dish; a 9×9 size will work perfectly for the amount in this recipe. You can step up to a 9×13 size if you’re doubling or tripling the recipe!)
- Aluminum foil
- A medium stovetop pan
- A spoon (Wooden spoons are preferred – but you can use whatever you have on hand!)
- Cheesecloth
- A storage container for the final product (Standard 16oz mason jars work great for this, but it’s not necessary – as long as your container is at least 6oz and resealable, you’ll be just fine!)
What to do:
- Using your scale, weigh out 7 grams of weed. If you purchased a quarter-ounce of cannabis to use for this, then reweighing isn’t necessary. Skip to the next step!
- Preheat your oven to 215°F
- Break up the weed using a cannabis grinder or a pair of scissors
- Cover the bottom of your baking dish with the ground cannabis, and seal tightly with aluminum foil
- Bake it in the 215°F oven for 30 minutes to activate the cannabis. This process is called decarboxylation, and it helps to create a more potent oil infusion!
- Remove from the oven, leaving the aluminum foil tight over the top. Keeping it sealed helps prevent cannabinoid-rich vapor or steam from escaping the container, and allows it to settle back into the herb – again, helping with potency!
- Melt your coconut oil in a medium-size pan over low heat while the baking dish filled with herb cools
- After the herb dish has been left to cool for about 15 minutes, uncover and pour the melted coconut oil over the cannabis. Use a spoon to mix until combined; the goal is to coat all of the dry herb with oil!
- Cover tightly with the aluminum foil once more, and return it to the 215°F oven for an hour and a half. If possible, it’s best to stir/agitate the mixture once or twice while it’s baking. Doing so helps the cannabinoids distribute more evenly.
- Remove the dish from the oven, and let cool with the aluminum foil cover on for 15-20 minutes – until you can comfortably handle the dish.
- Place a double-layer of cheesecloth over the opening of whatever storage vessel you’re using for your infused oil
- Carefully pour your infusion over the cheesecloth, straining out all chunks of plant matter in the process
- Gather up the sides of the cheesecloth into a bundle, and squeeze out as much remaining oil as possible
- You’re all done!
You’ve just created a batch of activated cannabis-infused coconut oil, and now you’re all set to make your own edibles! Celebrate by making a delectably potent batch of cookies, spice up your favorite stir-fry with a drizzle before serving, or create a delicious homemade vinaigrette – you can use this anywhere you would use “regular” coconut oil, making it perfect for any sweet or savory recipe. You could also let that mixture cool down, and then enjoy your brand-new homemade topical. The possibilities with this infusion are endless!
How to use cannabis coconut oil
Once you’ve got an infusion of coconut oil, the uses are endless!
- Combine your infused coconut oil with beeswax and aloe to make your own an infused cannabis topical
- Use your coconut oil in place of oil in a recipe of your choice to make a variety of infused dishes (try Herb Roasted Potatoes!)
- Infused coconut oil can easily be used as a lubricant in the bedroom (But be safe! Coconut oil may weaken condoms)
- Put your infused coconut oil into capsules for easy measurable dosing
- Make an infused cannabis tea latte
Expect to see coconut oil remain a staple in future cannabis infusions across the market. As major brands continue to innovate, coconut oil should thrive on the ingredient lists of more products to come.
If, however, you don’t have access to a dispensary near you or want to try a fun DIY with your own material, you can always make your own at home. Trust us, you’ll go coconuts for this stuff!
How to make CBD coconut oil
For those who don’t want the effects of THC in their infused coconut oil, you can infuse it with CBD instead. Simply follow the recipe above but use CBD flower instead of THC flower to get the health benefits of CBD.
I heard if you put it in the oven you remove the terpines? I’m trying to make the healthiest coconut oil while keeping all the natural properties of coconut oil. Thoughts?